
[Canon EOS 40D, F 2.8, 1/800.0, ISO:400, 2010-6-26]


Yesterday was the first time I tried out Macro Photography. Yesterday was also the first time I tried out product photography. I made a lightbox at home using the method mentioned here. This works great, but you really need good light source, not having a consistent light setup at home - I decided to use the natural light. Overcast day actually helped the cause by eliminating any harsh shadows.
Equipment:
- Canon 40D
- Canon EF 100mm f/2.8 Macro USM Lens
- Tripod
- White Posterboard
Subject:
Translucent push pins . Approximate dimensions are - 12mm base, 12mm steel pin and 6mm lower end diameter.
The camera was set on Aperture priority with most of the pics on 2.8; It was a windy day - in the given light conditions, to get really sharp images I wanted to get the highest shutter speed possible. Moreover, least F-stop also offers a good play with Depth-of-field.
Lessons Learned
1. Highest shutter speed does not always get you a sharp picture. Have a good look at the above picture, most of the translucent part of red pin is in focus but the edge along with the steel pin is not as sharp as it could have been. Diffraction at lower f-stops come into play here. Lens sharpness varies with the Aperture. If you are interested to know more, this is a really good read. As a general rule, avoid using the larger apertures (lower F-stop value) wherever you can. You can also read more about selecting the sharpest aperture for your lens here.
2. Let's talk a bit about DoF. Have a look at the following four pics:
Green Pin: Front Focus
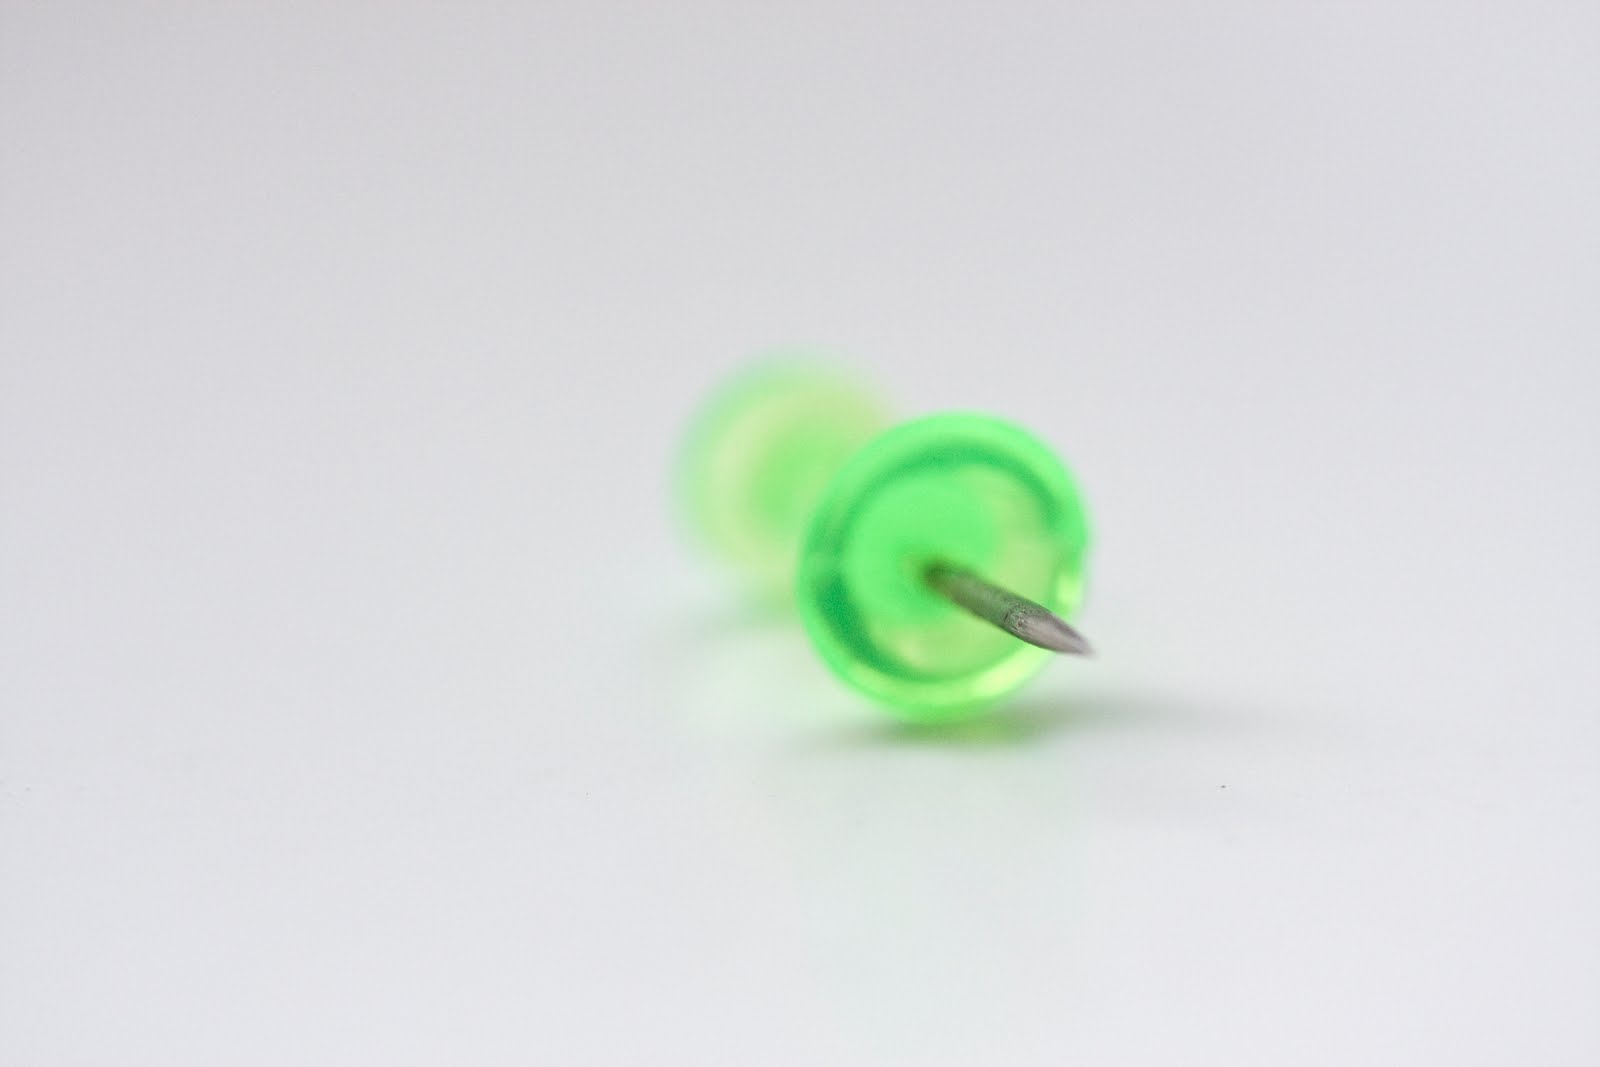
Green Pin: Back focus

All Pins: F.2.8 


Remember the dimensions of a pin. The first two pictures of green pin above are shot at 2.8. In the first picture of the green pin, I have tried to focus on the tip of the pin. See how the back portion is completely out of focus. You can see the same affect in the second picture where the focus is on the back of the pin.
Let's move on the next two pics of all pins. The last picture is shot at F8, see how everything( back and front) are still in focus and it's as sharp as it could get, without any lens diffraction.
3. Back button Auto-Focus - While trying to take these pictures, one of the hardest things was to get the lens AF working. It was just impossible to keep the focus on the tip of the pin. Most of the modern cameras have this nice feature called back-button AF. This was quite helpful to lock the focus and not let the camera try to focus again while taking the shot. You can configure the setting of this button using the custom settings function. More on this here.
4. Custom White balance - I did not really do this for this pictures, but realized later that the pictures could have been improved by letting the camera know what white is beforehand. This probably would have resulted in actual white background(real color of the poster board) on all the pictures, rather than shades of grey.
The Canon 100mm 2.8 macro is a fantastic lens, it opens up a new world of photography. I would highly recommend to try it out, if you haven't already. Here are some more shots:


No comments:
Post a Comment